How to Type Japanese on Any Keyboard: Complete Guide for PC, Mac & Mobile
Step-by-step guide to typing Japanese on Windows, Mac, iPhone, and Android. Learn to set up Japanese input (IME), switch between hiragana, katakana, and kanji, and type faster.
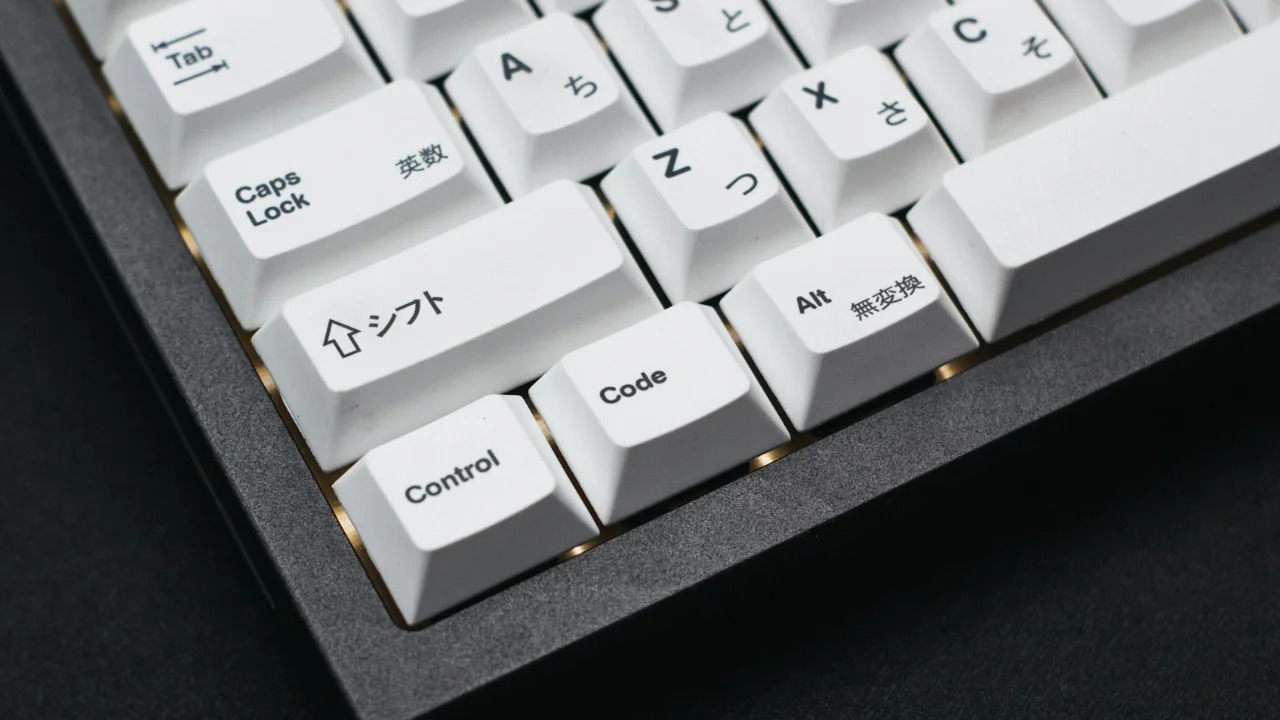
Most people assume that typing Japanese requires a special keyboard. They imagine a massive board covered in thousands of kanji symbols, one key per character, impossible to learn without years of training.
The truth is simpler and far more encouraging: you type Japanese using the same QWERTY keyboard you already own. The magic happens in software, not hardware. A small program called an IME (Input Method Editor) sits between your keystrokes and the screen, converting the romaji letters you type into hiragana, katakana, and kanji in real time.
Once you understand this system, typing Japanese feels almost intuitive. This guide walks you through setup and usage on every major platform.
How the IME System Works
Before diving into platform-specific instructions, it helps to understand the logic behind Japanese typing.
When you type Japanese, you do not press one key per character. Instead, you type the romaji pronunciation of a word, and the IME converts it automatically into hiragana. Then, when you press Space, it offers kanji and compound word options. You select the correct one and press Enter to confirm.
For example:
- You type:
nihon - The IME shows:
にほん - You press Space: it offers
日本(Japan) - You press Enter:
日本is inserted into your text
This is the core loop. Everything else is a variation on this process.
Setting Up Japanese on Windows
Windows comes with Microsoft IME pre-installed. You just need to activate it.
Step 1: Add Japanese as an Input Language
- Open Settings (Win + I)
- Go to Time & Language → Language & Region
- Click Add a language
- Search for Japanese and select it
- Click Next, then Install
- Windows will download Microsoft IME automatically
Step 2: Switch to Japanese Input
Once installed, you can switch between English and Japanese input at any time:
- Win + Space — cycle through available input languages
- Alt + Shift — switch between languages
- The language bar in the taskbar (bottom right) also shows your current input mode
Step 3: Understand the IME Toolbar
When Japanese input is active, the IME toolbar shows a single letter indicating your current mode:
| Icon | Mode | What it does |
|---|---|---|
| A | Romaji (English) | Types regular English characters |
| あ | Hiragana | Converts romaji to hiragana, then kanji |
| ア | Full-width Katakana | Types katakana directly |
| ア | Half-width Katakana | Types narrow katakana (used in older systems) |
For everyday Japanese typing, you will almost always use あ (Hiragana) mode.
Step 4: Type and Convert
- Type the romaji of your word (e.g.,
taberu) - The IME shows the hiragana:
たべる - Press Space to see conversion options (e.g.,
食べる) - Press Space again to cycle through alternatives
- Press Enter to confirm your selection
Function Key Shortcuts
While you have typed text that is still underlined (not yet confirmed), press function keys to force a specific format:
| Key | Result |
|---|---|
| F6 | Convert to hiragana |
| F7 | Convert to full-width katakana |
| F8 | Convert to half-width katakana |
| F9 | Convert to full-width romaji |
| F10 | Convert to half-width romaji |
Setting Up Japanese on Mac
Step 1: Add Japanese Input Source
- Open System Settings
- Go to Keyboard
- Click Input Sources → Edit (or the + button)
- Search for Japanese
- Add Japanese - Romaji (recommended for learners)
Step 2: Switch Between Input Languages
- Ctrl + Space — switch between input sources
- Click the input menu icon in the menu bar (top right)
Romaji vs Kana Input
Mac offers two Japanese input modes:
Romaji input (recommended for learners): You type romaji letters, and the system converts them to hiragana. Type ka and get か. Type sushi and get すし.
Kana input: Each key is mapped directly to a kana character. Very fast for experienced typists but has a steep learning curve.
Setting Up Japanese on iPhone and iPad
Step 1: Add the Japanese Keyboard
- Open Settings
- Go to General → Keyboard → Keyboards
- Tap Add New Keyboard
- Select Japanese
- Choose Romaji (recommended for learners) or Kana or 10 Key
Step 2: Switch While Typing
Tap the globe icon on the keyboard to cycle through installed keyboards. Hold it to see a list and jump directly to Japanese.
How iOS Japanese Input Works
In Romaji mode, type normally. After each romaji sequence, iOS converts it to hiragana automatically. Tap the hiragana word in the prediction bar, or scroll through predictions to find the kanji version you want.
Setting Up Japanese on Android
Step 1: Install Gboard
- Open Gboard (pre-installed on most Android devices or install from Play Store)
- Go to Gboard Settings → Languages
- Tap Add Keyboard
- Search for Japanese and select it
- Choose Romaji or 10-key layout
Step 2: Switch to Japanese
Tap the globe icon on Gboard to cycle between languages, or hold it and select Japanese from the list.
Romaji Input Reference Table
This table is the core of Japanese typing. Every hiragana maps to a romaji sequence.
Basic Hiragana
| Romaji | Hiragana | Romaji | Hiragana | Romaji | Hiragana |
|---|---|---|---|---|---|
| a | あ | i | い | u | う |
| e | え | o | お | ka | か |
| ki | き | ku | く | ke | け |
| ko | こ | sa | さ | shi | し |
| su | す | se | せ | so | そ |
| ta | た | chi | ち | tsu | つ |
| te | て | to | と | na | な |
| ni | に | nu | ぬ | ne | ね |
| no | の | ha | は | hi | ひ |
| fu | ふ | he | へ | ho | ほ |
| ma | ま | mi | み | mu | む |
| me | め | mo | も | ya | や |
| yu | ゆ | yo | よ | ra | ら |
| ri | り | ru | る | re | れ |
| ro | ろ | wa | わ | wo | を |
| n / nn | ん | — | — | — | — |
Special cases explained:
- ん (n): Before a consonant, single
nworks (e.g.,nihon→にほん). Before a vowel or at the end of a word, typennto avoid ambiguity. - Double consonants (っ): Double the following consonant.
kitto→きっと,motto→もっと. - Small kana: Type
xtuorltsufor っ. Usexa/lafor ぁ,xi/lifor ぃ, etc.
Combined Sounds
| Romaji | Hiragana | Romaji | Hiragana | Romaji | Hiragana |
|---|---|---|---|---|---|
| kya | きゃ | kyu | きゅ | kyo | きょ |
| sha / sya | しゃ | shu / syu | しゅ | sho / syo | しょ |
| cha / tya | ちゃ | chu / tyu | ちゅ | cho / tyo | ちょ |
| nya | にゃ | nyu | にゅ | nyo | にょ |
| hya | ひゃ | hyu | ひゅ | hyo | ひょ |
| mya | みゃ | myu | みゅ | myo | みょ |
| rya | りゃ | ryu | りゅ | ryo | りょ |
| gya | ぎゃ | gyu | ぎゅ | gyo | ぎょ |
| ja / zya | じゃ | ju / zyu | じゅ | jo / zyo | じょ |
Tips for Typing Japanese Faster
1. Accept the learning curve. The first week will feel slow. After two to three weeks of regular practice, muscle memory develops and speed increases dramatically.
2. Use phrase-level conversion. Rather than converting one word at a time, type an entire phrase before pressing Space. Modern IMEs are excellent at parsing natural Japanese phrases.
3. Master the F-key shortcuts on Windows. F6–F10 shortcuts save enormous time. When you type a loanword in hiragana by accident and need katakana, press F7 to convert instantly.
4. Let the predictive system learn you. Every modern IME has a predictive suggestion bar. The more you use it, the more it learns your vocabulary and the faster suggestions appear.
5. Add custom words to your IME dictionary. Both Windows IME and macOS Japanese input allow you to register custom words. If the IME consistently converts a word wrong, add it to your personal dictionary.
Summary
| Platform | Setup Path | Switch Shortcut |
|---|---|---|
| Windows | Settings → Time & Language → Language → Add Japanese | Win + Space |
| Mac | System Settings → Keyboard → Input Sources → + Japanese | Ctrl + Space |
| iPhone | Settings → General → Keyboard → Keyboards → Add → Japanese | Globe key |
| Android | Gboard Settings → Languages → Add Japanese | Globe key |
Start with hiragana mode. Type romaji. Press Space to convert. Press Enter to confirm. Use F7 on Windows when you need katakana. Double the consonant to get っ. Type nn to get ん before vowels.
That is the entire system. The rest is practice.